
As an Amazon Associate I earn from qualifying purchases and sometimes recommend products from other sellers at no extra cost you. For more details see my disclosure policy and privacy policy.
Midrange feels like the honest archetype. No combo wins out of nowhere, no racing to empty your hand before your opponent can react — just efficient threats, precise answers, and the quiet confidence of knowing your cards are simply better than theirs. And yet midrange is routinely the hardest archetype to pilot well, because it demands something the other strategies don’t: the ability to play two completely different games depending on what’s sitting across from you.
If you’ve ever felt like you were doing everything right with a midrange deck and still losing, this guide is for you. We’re going to cover how midrange actually works at a strategic level, the decisions that separate good pilots from great ones, and how to approach the archetype across Best-of-One and Best-of-Three play in Standard.
| Topic | What You’ll Learn |
|---|---|
| Strategic definition | What midrange means beyond “medium-cost cards” |
| Core decisions | Tempo vs card advantage — when each matters |
| Format differences | How Bo1 and Bo3 change your approach |
| Common mistakes | The errors that cost games, with specific scenarios |
| Current shells | Dimir, Orzhov, and Golgari in Standard |
| Pivoting mid-match | When and how to switch your game plan |
What Midrange Actually Means
The most common misconception about midrange is that it’s defined by mana value. Three-drops, four-drops, a couple of five-drops — that’s not a strategy, that’s just a curve. Real midrange is about role flexibility: the ability to be the most aggressive deck in the room against slower opponents, and the most controlling deck in the room against faster ones.
Think of it this way. Aggro decks follow a script — they want to deal 20 damage as fast as possible and every decision is made in service of that plan. Control decks follow a different script — answer everything, then win with a single powerful threat once the opponent is out of resources. Midrange doesn’t have a script. It has a read.
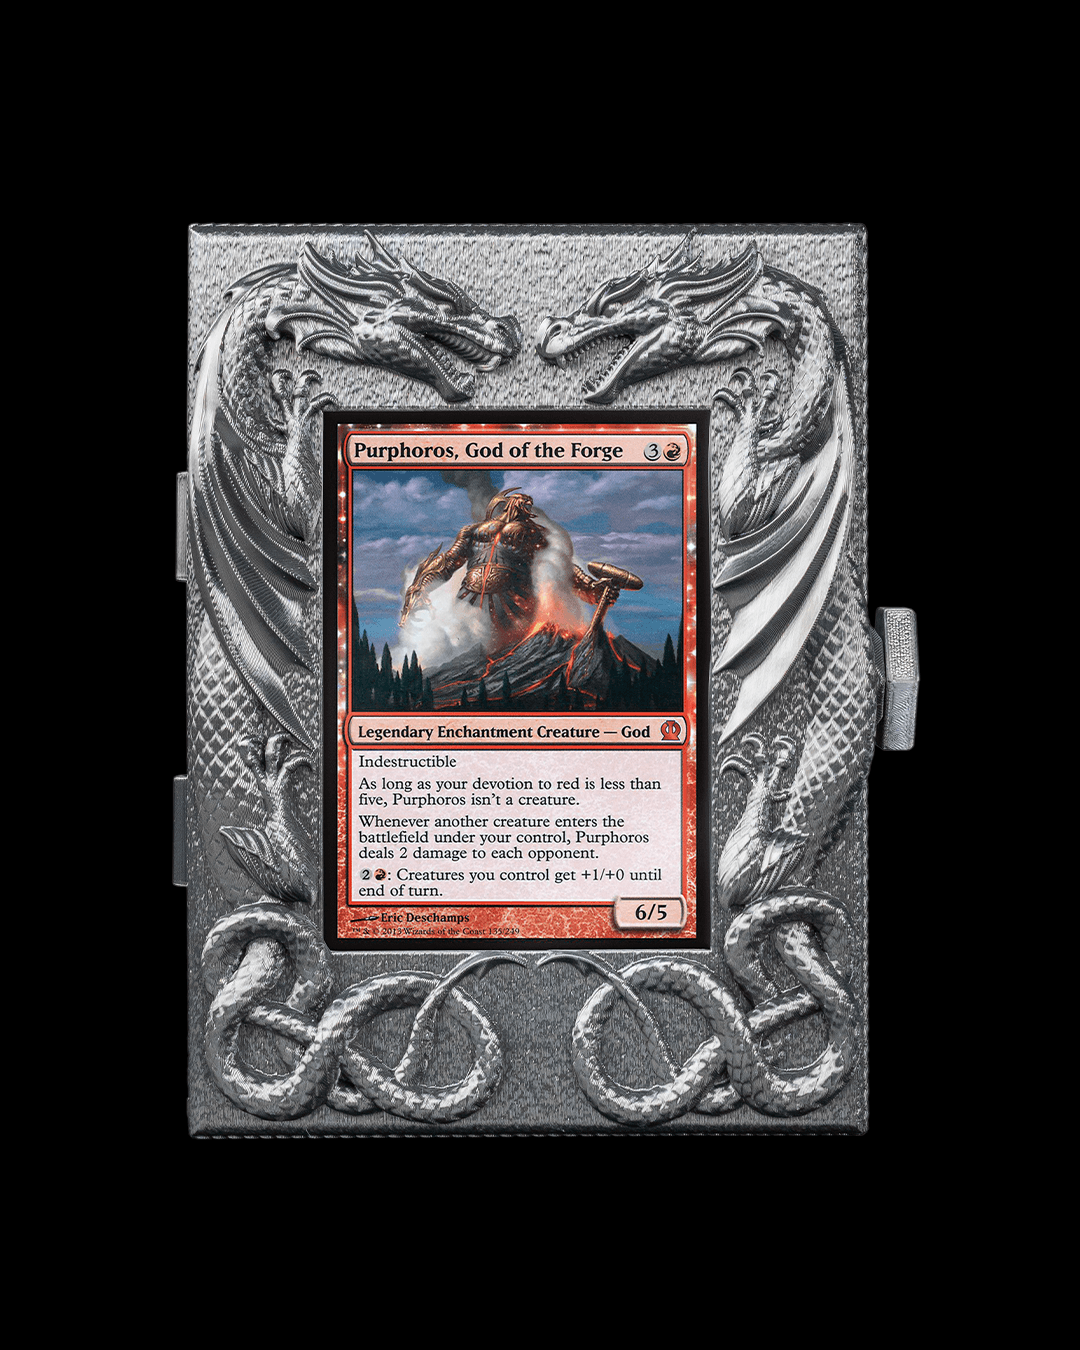
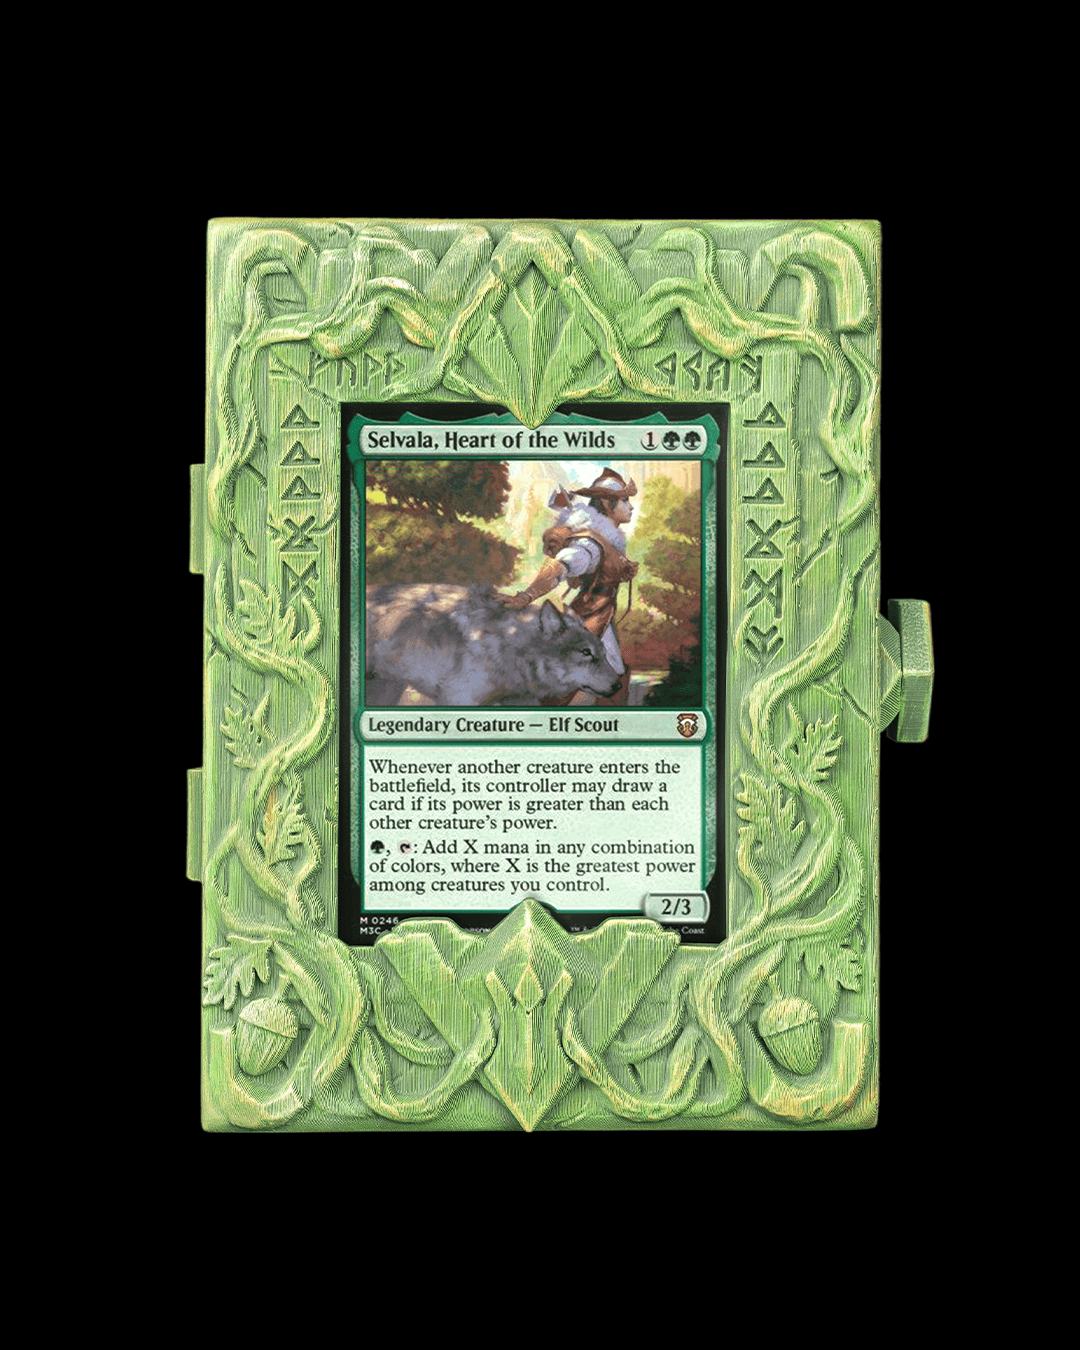
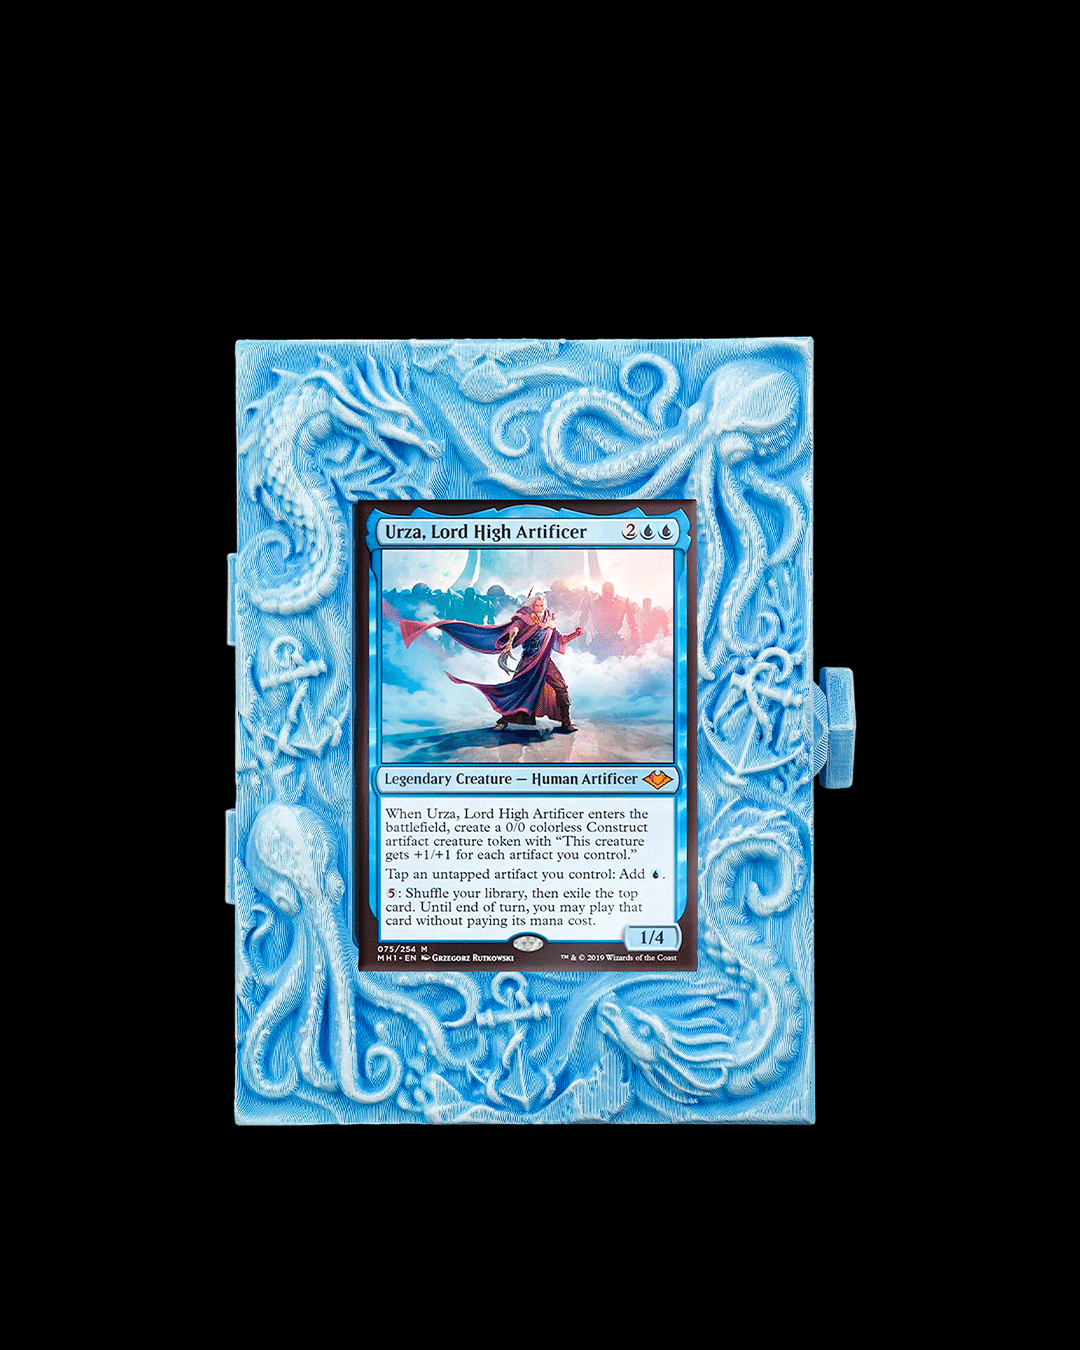
Against an aggro deck, your Dimir Midrange shell becomes the control deck. You’re spending early turns trading resources, stabilising your life total, and making sure you’re still standing when the dust settles. Against a control deck, that same shell shifts into beatdown mode — you’re deploying threats as efficiently as possible and daring the control player to have an answer for each one. The deck doesn’t change; your role does.
This is why midrange is highly format-dependent. The archetype is built from whatever happens to be the best interaction and the most resilient threats in the current card pool, rather than from a fixed template that travels from format to format. When new sets rotate in, midrange rebuilds itself around the new environment’s best tools.

The Core Strategic Tension: Tempo vs Card Advantage
Every meaningful decision a midrange pilot makes comes back to one question: which resource is most important right now?
Tempo is about the efficiency of your actions relative to your opponent’s. A two-mana removal spell that kills a three-mana threat is good tempo — you spent less than they did to neutralise their investment. Deploying a threat on curve and holding up interaction for the same turn is good tempo. Letting your opponent’s creature get in for damage while you spent your mana on something else is losing tempo.
Card advantage is about having more options than your opponent over time. Drawing two cards off a spell that costs three mana is card advantage. A creature that replaces itself when it enters the battlefield is card advantage. Spending two spells to deal with one of their threats is losing card advantage.
The tension between these two resources is what makes midrange genuinely complex. There are situations where gaining card advantage is the wrong play because tempo is what you actually need — and vice versa. A classic example: your opponent is on five life with two creatures in play. You have a removal spell and a three-drop threat in hand. The correct line might be to cast the threat and accept that their creatures will deal damage, because the pressure of your threat forces them into a bad position. Spending your turn on removal clears the board but leaves you with no pressure, and a control deck can stabilise off that.
The clearest way to think about it is this: tempo wins you the current turn, card advantage wins you the game later. When you’re ahead, tempo protects your lead. When you’re behind, card advantage helps you claw back into it. Midrange players who misread which situation they’re in tend to do the opposite of what the game state demands.
How to Read Your Resource Position
Before each turn, develop the habit of asking three questions. First: who is ahead on board? Second: who has more cards? Third: what happens if neither player draws another spell?
That last question — the “last card” scenario — is particularly useful for midrange. If both players run out of cards, midrange usually wins with its remaining permanents because individually powerful threats tend to outclass the individually powerful answers on the other side of the table. If you can get to that position from a neutral board state, you’re in good shape.
Bo1 vs Bo3: Two Different Games
Best-of-One and Best-of-Three reward different things from a midrange deck, and understanding that distinction will change how you build and pilot.
Best-of-One Challenges
In Bo1, you face the entire field without the safety net of sideboard cards. Midrange tends to struggle here more than linear strategies do, because those decks are focused and consistent — they do one thing well and don’t need the flexibility to adjust. Your Dimir Midrange deck might be favoured against most of the field, but without sideboard access, those unfavourable matchups stay unfavourable.
The practical consequence is that Bo1 midrange lists often need to hedge in the main deck — adding a few cards that would normally sit in the sideboard, like an extra sweeper or a second copy of a hate piece. This dilutes your most powerful draws. A Duress in your opening hand against an aggro deck is a near-blank, and you can’t sideboard it out.
The best Bo1 midrange builds accept this and try to find cards that are good enough across the widest possible range of matchups. Discard that hits creatures and noncreatures, removal that deals with various threat types, threats that generate value regardless of board state. Versatility becomes the primary deckbuilding metric.
Best-of-Three Advantages
Bo3 is where midrange reaches its ceiling. The sideboard effectively lets you build a different deck for each matchup, and because midrange already has a flex core, those sideboard cards slot in without disrupting the deck’s identity.
Against aggro, you’re bringing in sweepers and lifegain. Against control, you’re loading up on threats and additional discard. Against the midrange mirror, you’re looking for the cards that break symmetry — threats that are harder to answer than anything they’re bringing.
The key insight is that sideboarding for midrange isn’t about patching weaknesses — it’s about completing the role-swap your maindeck already started. You’ve already built a deck that wants to shift between control and aggro depending on the opponent. Sideboard cards make that shift more decisive. When you bring in three extra Duresses against a control deck, you’re not just adding discard; you’re committing fully to the aggressive role.
A useful rule of thumb for sideboard construction: identify the top three or four matchups you expect to face most often, then make sure your sideboard dramatically improves your positioning in each of them. Don’t spread your sideboard too thin trying to answer every fringe strategy.
Common Mistakes Midrange Players Make
Misreading Your Role
The single most common error is playing the wrong game for the matchup. Against an aggressive deck, you need to be the control player — meaning you prioritise answers over threats, you prioritise life total over card advantage, and you accept some tempo losses in exchange for stabilisation. Players who don’t adjust to this role often try to “out-value” an aggro deck by deploying a value creature on turn three instead of killing their best attacker. If your life total is already under pressure, that’s a losing line.

The opposite mistake happens against control. Players who are used to grinding out resources against aggro sometimes play too passively against slow decks, spending removal on low-impact targets or waiting for the “perfect” moment to deploy threats. Against control, every turn you don’t apply pressure is a gift. The correct line is usually to deploy threats aggressively and use your remaining mana to protect them.
Treating All Removal as Equal
Not all removal is created equal, and reaching for the lowest-mana option isn’t always right. The correct removal spell is the one that matches the game state, not simply the most efficient one on rate. A two-mana exile effect might be worth deploying over a one-mana kill spell if the exile clause matters for a specific threat. Holding a sweeper while you’re at low life because you’re hoping to use it more efficiently is often a mistake — the value of sweeping the board when you’re ahead is less than the value of staying alive.
Pay attention to the sequencing of your answers. Using removal reactively is fine, but the best midrange pilots also use removal to set up their own threats. Clearing a specific blocker before attacking, for instance, can be worth more than using that removal on the “biggest” target.
Over-committing Into Sweepers
In matchups where the opponent has access to board wipes, midrange players often make the mistake of flooding the board trying to apply pressure, then losing everything to a sweeper. The correct adjustment is to threaten one meaningful permanent at a time. Force the opponent to use their sweeper on a board that’s mostly your expendable threats, then redeploy after it resolves.
This requires patience, and it runs against the instinct to “build a board state.” In sweeper-heavy matchups, a board state is a liability, not an asset. One resilient, hard-to-answer threat does more work than five creatures that die to a single card.
The Current Standard Midrange Shells
Standard midrange in 2026 centres on three primary colour combinations, each with a distinct identity and a different set of strengths.
Standard Midrange Shell Comparison
MTG Arena · Standard · 2026
Dimir
Orzhov
Golgari
Dimir Midrange
Dimir (blue-black) is the most flexible and arguably the most skill-intensive of the current midrange shells. Its power comes from evasive threats that generate value when they connect, paired with a suite of instant-speed interaction that lets you leave mana up on your opponent’s turn without losing progress.
The core game plan is to use counterspells and removal to keep the opponent off key plays in the early turns, then close the game with a threat that can’t easily be traded for. Dimir’s threats often generate card advantage when they deal combat damage, which means the longer the game goes, the further ahead you get. Against control, this shell is particularly dangerous — your threats refuel your hand even when the opponent is trying to answer them one at a time.
The weakness is aggro. Dimir’s interaction tends to be more expensive than what the cheapest aggro decks present, and if you fall too far behind on life you can run out of time before your more efficient late-game takes over. In these matchups, leaning into cheaper answers and prioritising your life total is essential.
Orzhov Midrange
Orzhov (white-black) is the attrition specialist. It combines hand disruption in the form of discard spells with efficient removal and creatures that generate value through persistence — permanents that are difficult to remove cleanly, that return from the graveyard, or that generate tokens when they die.
The Orzhov plan is to strip the opponent’s best card before they can play it, answer whatever follows, and win with creatures that have already generated more than their mana cost in value. Against aggro, this shell can go very low by bringing in lifegain and sweepers from the sideboard. Against control, the discard suite becomes even more valuable — stripping a counterspell on turn two sets up your threat on turn three cleanly.
Orzhov’s relative weakness is late-game inevitability. It doesn’t have the card draw that Dimir does, so in long games where both players have exhausted their hands, the outcome depends heavily on the quality of your remaining permanents.
Golgari Midrange
Golgari (green-black) takes the simplest approach: individually powerful cards, efficient removal, and enough mana acceleration to deploy threats ahead of schedule. Where Dimir relies on evasion and Orzhov on disruption, Golgari relies on raw card quality. The threats are larger and harder to outright answer, the removal goes to the graveyard to become relevant again, and the game plan scales naturally — the longer it goes, the more powerful each card becomes relative to the format’s average.
Golgari is the most forgiving shell for pilots learning the archetype, because the cards themselves do heavy lifting without requiring precise sequencing. The tradeoff is that it’s also the least adaptable — what you see in game one is largely what you get, and matchups against fast aggro require careful navigation since you can’t protect your life total as efficiently as Orzhov or interact at instant speed as well as Dimir.
Pivoting Your Game Plan Mid-Match
Knowing your role before the game starts is important. Knowing when to change it mid-game is the real skill.
The trigger for a pivot is a change in board state that makes your current plan suboptimal. If you’ve been playing defensively against an aggro deck, spending early turns trading resources and stabilising, there’s a moment where the calculus flips — you’ve stabilised, their hand is empty, and continuing to play defensively means giving them free turns to draw into relevant cards. That’s the moment to shift from defence to offence, pushing damage and using your remaining resources to close the game rather than generate more advantage.
The opposite situation: you’re playing aggressively against a control deck, having deployed two threats and applied real pressure. They resolve a sweeper. The instinct is to rebuild the board immediately, but that often walks into the second sweeper. The correct pivot is to slow down — deploy one threat, hold the second, and force them to use their remaining answers inefficiently before you go wide again.
A simple rule of thumb: pivot when the optimal path to winning changes. At a healthy life total with a stable board, shift from trading to closing. If your opponent’s sequencing signals they have a sweeper or a haymaker coming, stop overextending and force them to answer one card at a time. Midrange gives you the tools to play both styles — the skill is in reading which one the game is asking for.
Reading Signals During Play
Pay attention to how your opponent is spending their mana. A player who holds up mana at the end of their turn and doesn’t use it is likely leaving up interaction. A player who taps out completely is representing no interaction. These signals should directly affect your sequencing — deploying your most important threat when the opponent has just tapped out is the correct line, not when they’re holding up four mana.
Watch the cards that go to the graveyard and the cards that come off the top. If your opponent is cycling through interaction and you’re not seeing threats from them, they may be sculpting a hand — treat the next few turns as a window to apply pressure before they find their game-winning play.
Putting It Together: A Quick Reference
Midrange rewards the players who can hold two contradictory ideas at once: that they need to be aggressive enough to close games, and defensive enough to survive the matchups where they’re the slower deck. The mechanics of the archetype — flexible interaction, resilient threats, discard — are all in service of that adaptability.
If you’re picking up midrange for the first time, start in Bo3. The sideboard gives you a clearer picture of what your deck is trying to accomplish in each matchup, and you’ll develop role-reading instincts faster when you can directly observe how your deck transforms between games. Pay close attention to which card you most want to draw in any given situation — that’s usually the resource you’re missing, and identifying it clearly will sharpen your decision-making in future games.
The MTG Arena format guide covers how Standard sits alongside other available formats if you’re deciding where to invest your wildcards. For those starting with a limited budget, the budget Standard decks guide shows which shells can compete without a full wildcard investment. And if you want to understand the current competitive landscape before committing to a list, what’s winning in MTG Arena Standard breaks down the meta picture.
If your card game instincts were sharpened by board games first, it’s worth noting that the strategic thinking here — role flexibility, resource assessment, knowing when to press an advantage versus when to conserve — maps very closely onto deck building board games and even resource management in something like Terraforming Mars. The skill of reading a game state and adjusting your plan transfers across formats.
Which midrange shell interests you most — Dimir, Orzhov, or Golgari — and what’s the situation where you find yourself making the wrong role call most often? Let us know in the comments below.
Want more MTG Arena strategy and board game content delivered straight to your inbox? Sign up for the Everything Is A Game newsletter and we’ll keep you one step ahead of the meta.