
As an Amazon Associate I earn from qualifying purchases and sometimes recommend products from other sellers at no extra cost you. For more details see my disclosure policy and privacy policy.
You keep a hand with two lands, a three-drop and a five-drop. Turn two comes and goes with nothing on the table. Turn three, you finally cast something, and your opponent is already two plays ahead and swinging.
Nothing about that hand was “bad” in isolation. The problem was the shape of it. Your mana was waiting around for cards that could use it, and in Magic, unused mana is lost for good.
That is the whole idea behind a mana curve and tempo. This guide treats your curve as a turn-by-turn plan rather than a checklist, and shows how spending your mana well each turn turns a pile of reasonable cards into a deck that wins. It works the same way whether you are shuffling at a kitchen table or clicking through Arena.
📈 What a Mana Curve Actually Is
A mana curve is the spread of your deck’s spells by cost. Each card has a mana value, which is the total mana in its cost added together, whatever the colours. The term replaced “converted mana cost” when Strixhaven: School of Mages arrived in 2021, so you will still see “CMC” in older articles and forum threads.
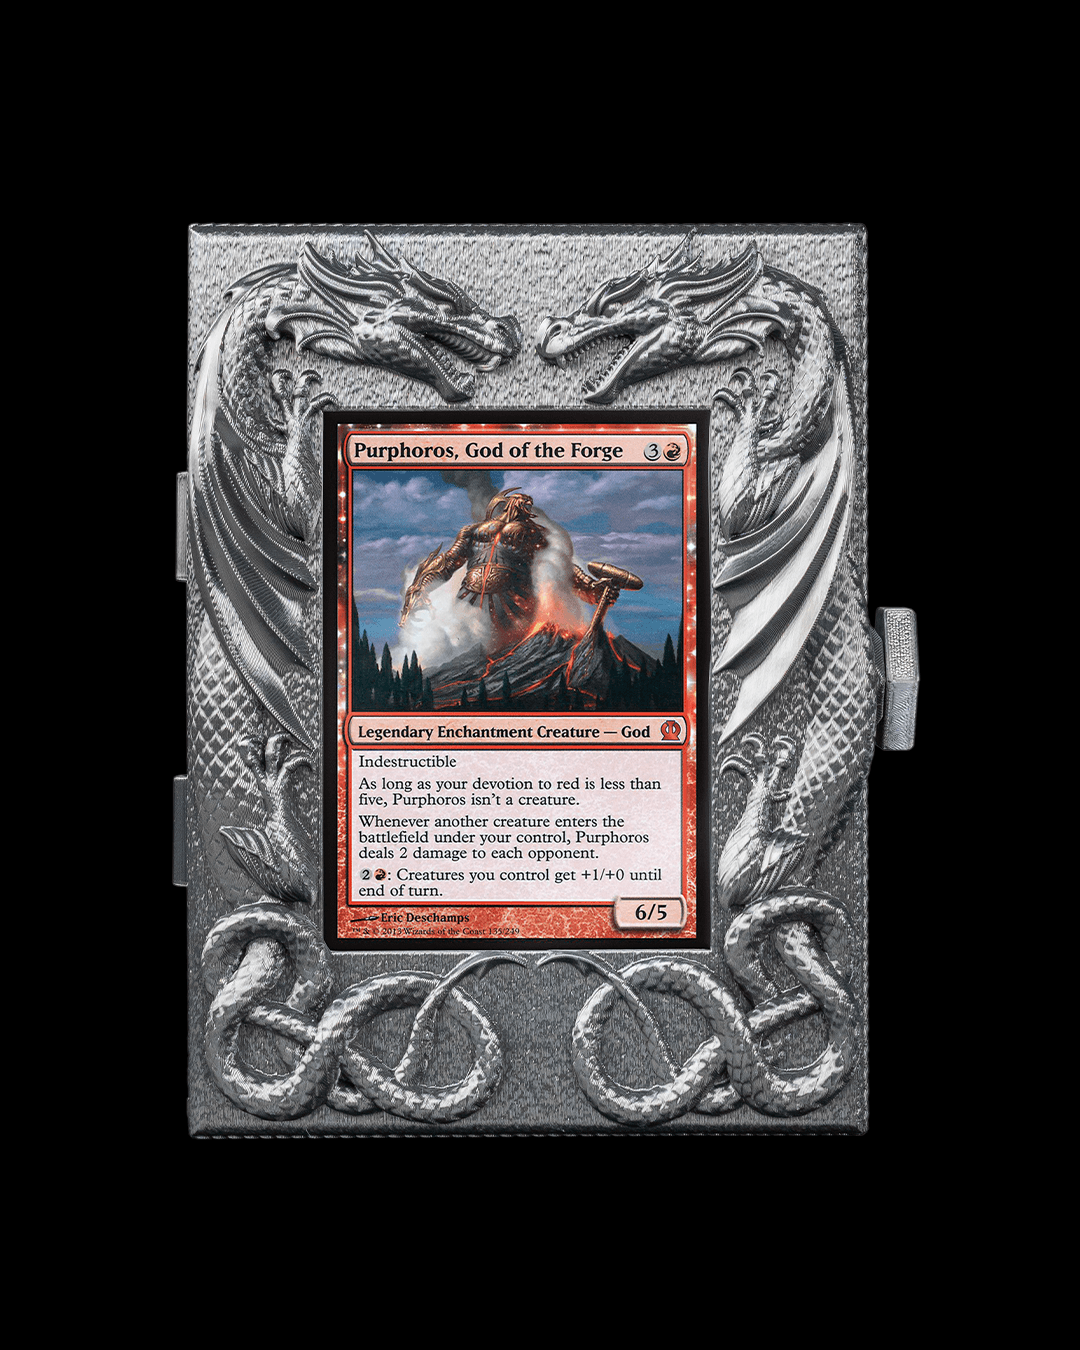
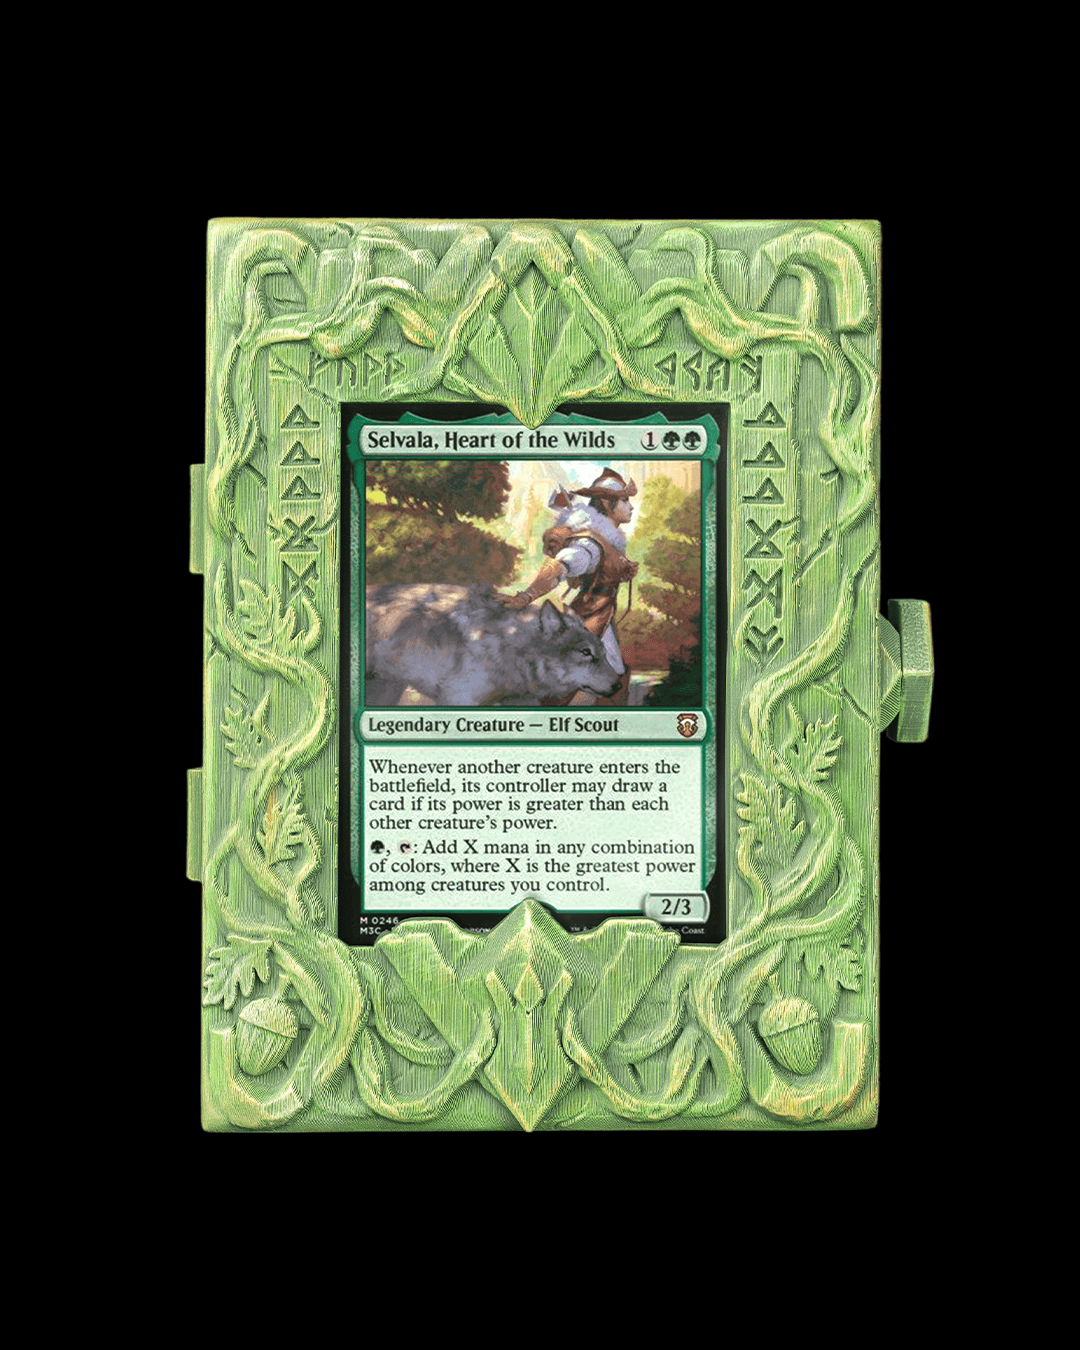
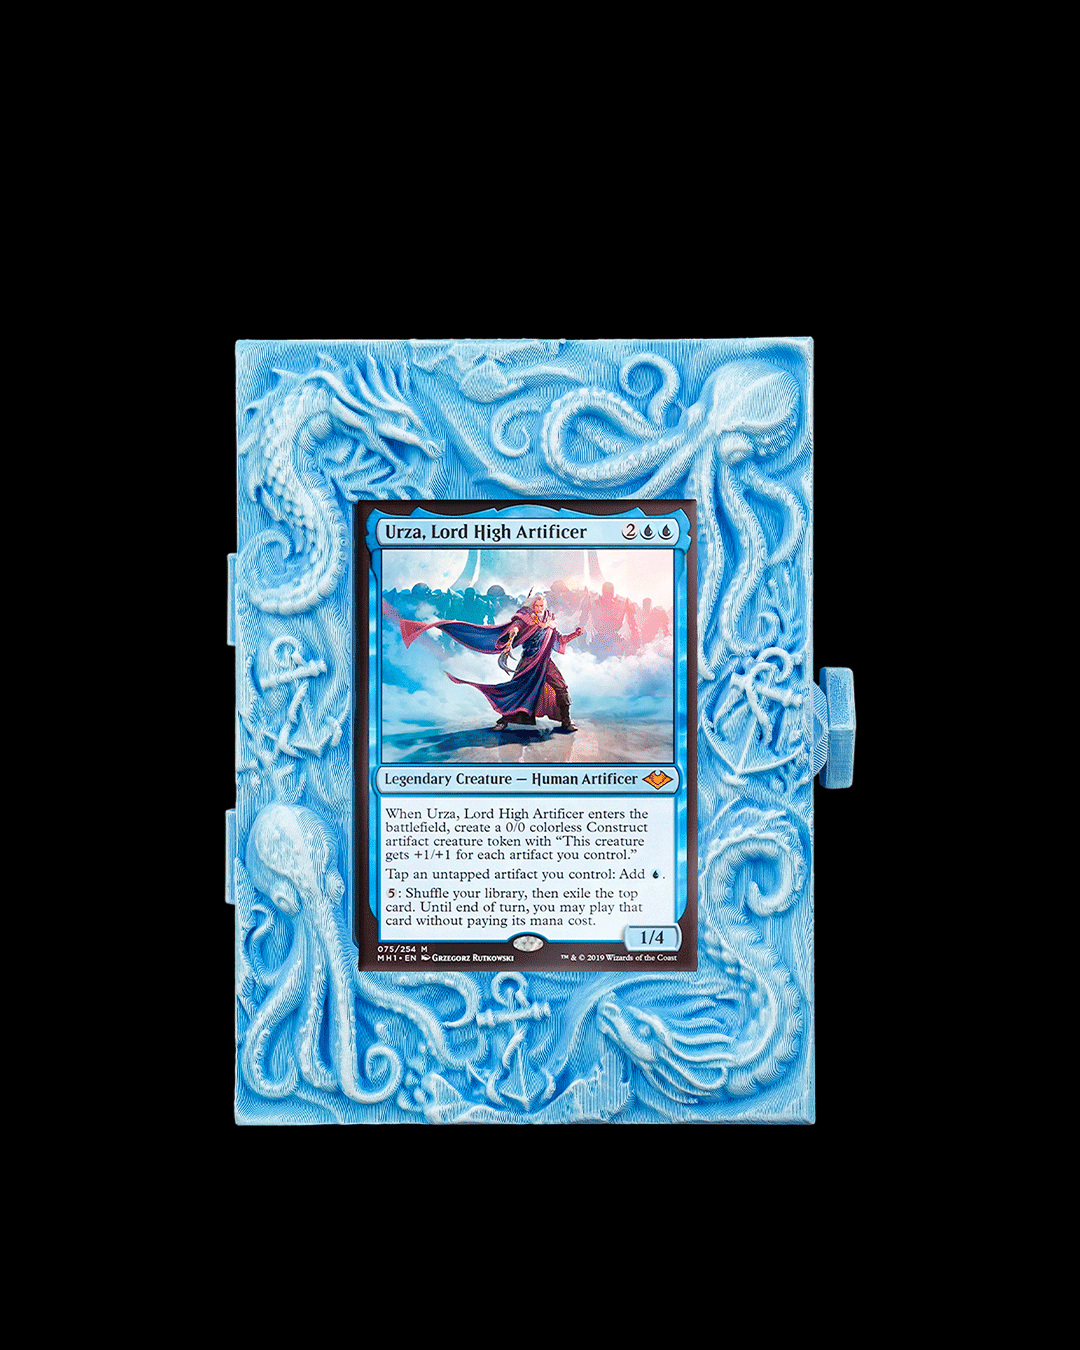
Lands are the exception. They have no mana cost, so their mana value is zero, and they sit outside the curve. If you want the short definition, our mana curve glossary entry covers it.
To read a curve from a decklist, group your nonland cards by mana value and look at the shape.
- Lots of cheap cards on the left means a deck that wants to act early.
- A heavy right side means a deck that is building toward big payoffs.
- A hump in the middle means a deck that wants to make a solid play on most turns.
The shape tells you what the deck is trying to do, which is more useful than any single number. A curve is a statement of intent. Your job is to check that the intent matches the deck you actually want to play.
⏱️ Tempo: Why the Curve Matters
Tempo is how efficiently you turn mana and turns into progress on the board. If you spend your whole turn’s mana on a play that matters, you are gaining tempo. If you spend it on something that barely moves the game, or spend none of it, you are losing tempo.
Think of each turn as a small budget. You get a fixed amount of mana, and it resets whether you used it or not. Wasting it is like leaving money on the table that you can never collect later.
This is why the curve and tempo are really one topic. The curve is your plan for spending mana. Tempo is how well you carried the plan out.
A good curve means that on most turns you have a play that uses the mana you have. That is the meaning of the post title: a deck that does something every turn.
🧭 Curve by Archetype, at a High Level
Different archetypes want different shapes, and we have covered the strategy side of each in detail. Here is only what the curve looks like for each.
- Aggro wants its weight on the left. The deck is trying to put pressure on the board before the opponent has settled, so cheap threats matter more than anything expensive. Our aggro guide covers how that plays out.
- Midrange wants a smooth middle. It wants a sensible play on most turns and a few strong cards at the top. The midrange guide goes into the decision-making.
- Control can afford a heavier right side because it spends the early turns answering threats instead of racing. The control guide explains how those decks actually close games.
- Ramp skews the logic. Early plays exist to produce mana, not to affect the board, so the curve has a deliberate gap between “setup” and “payoff”. See the ramp guide.
If you are not sure which of these your deck is, look at the curve first. It will often tell you before the card choices do.
🔁 Sequencing: Planning Turns Instead of Plays
Most players pick the best card in hand each turn. Better players plan two or three turns ahead and sequence their hand so that mana is used well across all of them.
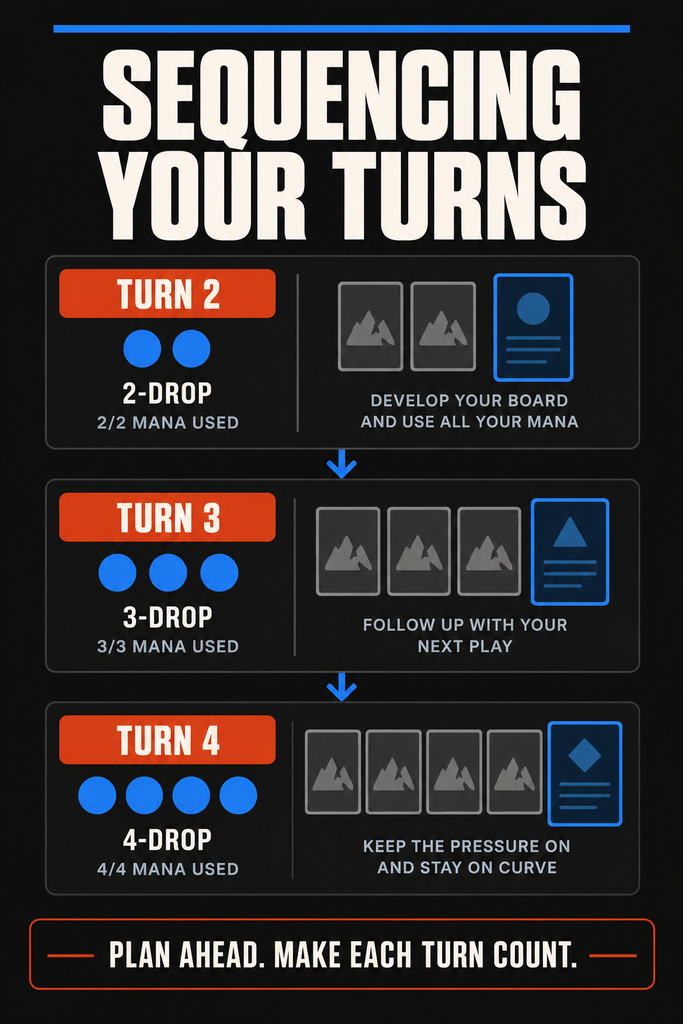
Say you have a two-drop, a three-drop and a four-drop in hand, with enough lands to follow the natural order. Playing them in order on turns two, three and four uses all your mana each turn. That is the ideal case, and it is what a smooth curve is designed to produce.
Real hands are messier, so here are the questions worth asking at the start of each turn.
- What is the most mana I can use well this turn?
- What will I want to cast next turn, and does this play get in its way?
- Is there a play that costs less now and lets me double up later?
Sometimes the right answer is to cast two cheaper spells instead of one expensive one. Sometimes it is to hold a card back because the board needs a different answer. The point is to decide on purpose.
🛑 When to Tap Out and When to Hold Mana
Tapping out means spending all your mana on your own turn. It is the default for proactive decks, because developing the board is usually the best use of mana.
Holding mana back is a trade. You give up board development this turn in exchange for the ability to respond on your opponent’s turn. That is a good trade for decks built around instant-speed interaction, and a poor one for decks that just need to get threats down.
Ask what your opponent is likely to do with a free turn. If the answer is “something that wrecks me”, holding up an answer can be worth the lost tempo. If the answer is “not much”, tapping out for a threat is usually stronger.
A rule of thumb that holds up well: if you cannot name the specific thing you are holding mana for, you probably should have cast something.
Our midrange guide looks at this decision from the point of view of a deck that has to do both.
⚠️ Common Curve Mistakes
Most clunky decks have one or two of the same problems. Check yours against these.
A top-heavy deck
Powerful expensive cards are tempting, and a deck full of them can look great on paper. In play, you spend the first several turns doing nothing while the opponent builds a lead. The expensive cards then arrive too late to matter.
If your best draws win the game and your average draws lose it, the curve is too high.
Ignoring two-drop plays
The earliest turns are where cheap cards earn their place. A deck with very few early plays leaves its first turns empty, which hands the opponent free tempo. Even slower decks want something to do on turn two, whether that is a creature, a cheap removal spell or a mana-producing play.
Cards that effectively cost more than their mana value
This one catches people out. A card’s mana value is only its printed cost. If the card needs a second card to work, a particular board, or a lot of setup before it does anything, it costs far more in practice.
Count the real cost. A cheap card that does nothing without three other pieces in play is not a cheap card.
Too many cards that do the same job at the same cost
A curve is not just a count. If every four-drop in your deck is a similar creature, you will have turns where your hand is full of the same play and you cannot use your mana well. Mix up the jobs at each cost: threats, answers and support.
🔧 Fixing a Clunky Deck by Adjusting the Curve
Here is a worked example at the archetype level, with no specific cards, because the process matters more than the list.
Imagine a midrange deck that keeps stumbling. In your games, you often do nothing for the first two turns, then jam two expensive cards on turns five and six. You win when you draw the right opening hand and lose almost every other time.
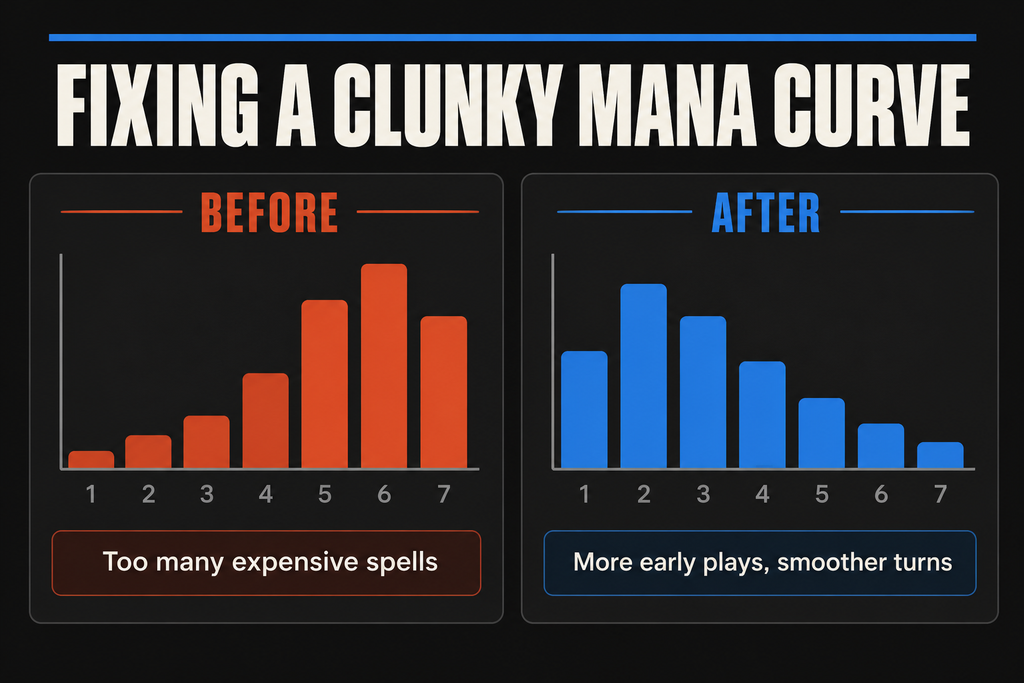
The curve diagnosis is straightforward. The deck has too many expensive cards and too few early plays.
Here is how you would fix it, one step at a time.
- Mark the cards that make you wait. These are your most expensive spells and anything that needs setup.
- Cut a couple of the most expensive ones, keeping the ones that win the game by themselves.
- Replace them with cheaper cards that fill the gap on the early turns, such as efficient creatures or cheap interaction.
- Check the jobs at each cost, so you have a mix and not just copies of the same play.
- Play a few games and see whether your first three turns feel better.
The deck will not feel as exciting on paper. It will lose less often to its own hand, and that is where most casual-to-intermediate decks leak wins.
If you are on Arena, this is a cheap fix, because swapping cheaper cards in and out costs far fewer resources than rebuilding a deck. Our guide to budget Standard decks shows how cheaper decks lean on a tight curve to compete.
🏞️ How the Curve Interacts With Your Mana Base
Your curve and your lands are two halves of the same plan. A low curve can get away with a leaner mana base, while a high curve needs enough lands to reach its top end and the right colours to cast everything.
The two can also fight each other. A deck full of cheap cards in several colours can stumble on colour problems even when the curve looks perfect. That is a mana base problem, not a curve problem.
We have given the full treatment to lands, colour requirements and fixing in our guide to building a mana base. Read that alongside this one, because you will usually need to adjust both together.
One related point: how often you hit the mana you need also depends on how you start the game. Our guide to mulligan decisions covers when a hand’s shape means it is worth sending back.
💻 Paper and Arena: Same Plan, Different Feel
The curve works the same way in both formats, but the experience differs.
On Arena, the client tracks your mana and does a lot of the bookkeeping for you. That makes it easy to see exactly what you can cast, and easy to play fast. In paper, you manage everything yourself, and keeping track of what you have spent and what you are holding is part of the skill.
Arena’s Best-of-One mode also shapes opening hands. According to MTG Arena Zone’s testing, the smoothing system tends to pull hands toward an average mix of lands and spells, and it is not applied to Best-of-Three in the same way. Wizards has said the system “leans towards” those hands rather than guaranteeing them, so treat it as a tendency.
What that means for your deck is worth thinking about. A curve that relies on perfect draws behaves differently in a format that smooths draws than in one that does not. Our Bo1 vs Bo3 guide looks at how the format changes your choices, and the paper vs Arena comparison covers the wider differences.
✅ The Short Version
A mana curve is the spread of your spells by cost, and tempo is how well you spend your mana against it.
- Read your curve from your decklist, and check that its shape matches the deck’s plan.
- Plan two or three turns ahead rather than picking the best card each turn.
- Tap out when developing the board is best, and hold mana only for something you can name.
- Watch for top-heavy lists, missing early plays and cards that cost more than they say.
- Fix a clunky deck by trimming the top end and filling the early turns.
- Adjust your curve and your mana base together.
Next time a game goes wrong, look at your turns before you blame your draws. If the mana sat unused, the curve is where to start.